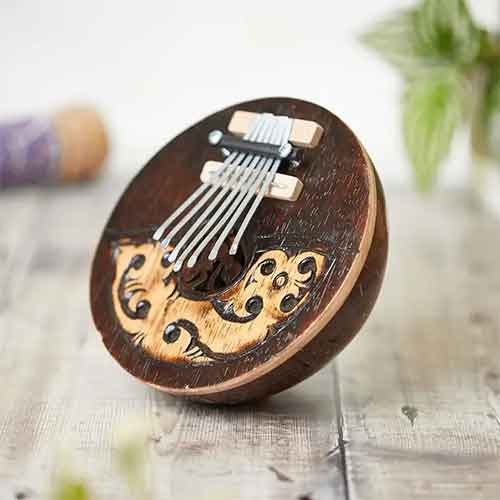
The kalimba, also known as a thumb piano, is a fascinating and melodic instrument that has captured the hearts of music enthusiasts around the world. If you're a fan of DIY projects and music, you'll be thrilled to know that you can create your own kalimba from a DIY kit. In this comprehensive guide, we will walk you through the step-by-step process of assembling your own kalimba, from cutting the wood to fine-tuning the notes. So, let's dive in and discover how you can bring this beautiful instrument to life.
Materials You'll Need
Before we get started, let's gather all the necessary materials for this project. Here's a list of items you'll need.
- Wood - A piece of wood that can be easily cut to size.
- Handsaw - For cutting the wood to the desired dimensions.
- Sandpaper - To smooth out the wooden base and prevent splinters.
- Glue - Strong adhesive for securing the different components together.
- DIY Kalimba kit - consists of the metal Plate - The essential part that produces the kalimba's distinctive sound. Screws - Needed to attach the metal plate securely to the wooden base and the tuning hammer which is a tool to fine-tune the notes of your kalimba.
- Varnish - For adding a protective and aesthetic finish to your kalimba.
- Tuning App - An app that helps you achieve the perfect pitch for each note.
Step 1: Cutting and Sanding the Wood
The first step in creating your DIY kalimba is to cut the wood to the appropriate size. Using a handsaw, carefully trim the wood to the desired dimensions. Take your time to ensure accuracy and precision.
After cutting, it's essential to sand the wooden base to make it smooth and prevent any potential splinters. Use sandpaper to gently sand all sides of the wood until it feels soft and comfortable to touch.
Step 2: Gluing the Components
Once you have prepared the wooden base, it's time to start assembling the different components of your kalimba. Begin by taking the first piece of wood and gluing it to the base. Make sure to apply enough glue to create a strong bond.
Next, take the metal part and glue it to the center of the other wooden piece. Wipe off any excess glue to maintain a clean and tidy appearance.
Step 3: Marking and Screwing the Metal Plate
To position the metal plate accurately, use a pencil to mark where the screws will go. Place the metal plate in the designated spot and mark the screw points accordingly.
Now, carefully screw the plate into the wooden base. Make sure the screws are tight enough to secure the plate firmly. Once the glue is dry, attach the wooden block with the metal strip onto the base.
Step 4: Varnishing Your Kalimba
If you wish to give your kalimba a polished and glossy look, you can choose to varnish it. Before applying varnish, remove the screws and the face plate to ensure an even finish.
In a small pot, add the varnish and, if needed, a little water to achieve the desired consistency. Use a cloth or brush to apply the varnish evenly on the wooden surface. You can repeat this process for a second coat to achieve a more vibrant and durable finish.
Step 5: Fine-Tuning the Notes
Once you have varnished your kalimba and allowed it to dry completely, it's time to reattach the metal plate, put in the screws, and add the notes. The notes should be positioned from left to right, forming the classic V shape.
If the notes feel a bit stiff, you can use the tuning hammer to adjust them. Take your time to fine-tune each note using a tuning app, ensuring that it matches the engraved note on the kalimba.
Step 6: Play Your DIY Kalimba
Congratulations! You have successfully assembled your own kalimba from a DIY kit. Now, it's time to enjoy the beautiful melodies that this unique instrument can produce. Experiment with different techniques, explore various musical genres, and let your creativity shine through the enchanting sounds of your DIY kalimba.
Where to Buy the DIY Kalimba Kit

If you're ready to embark on this exciting DIY project, you can purchase a high-quality DIY kalimba kit from Amazon. This kit includes all the necessary components and detailed instructions to ensure a smooth and enjoyable crafting experience. Now it's your turn to create your own musical masterpiece. Unleash your creativity, dive into the world of kalimba music, and enjoy the soothing and sounds that this unique instrument can produce. Happy crafting and happy playing!
How to make a kalimba (Video)
Up Next: Kalimba Buying Guide